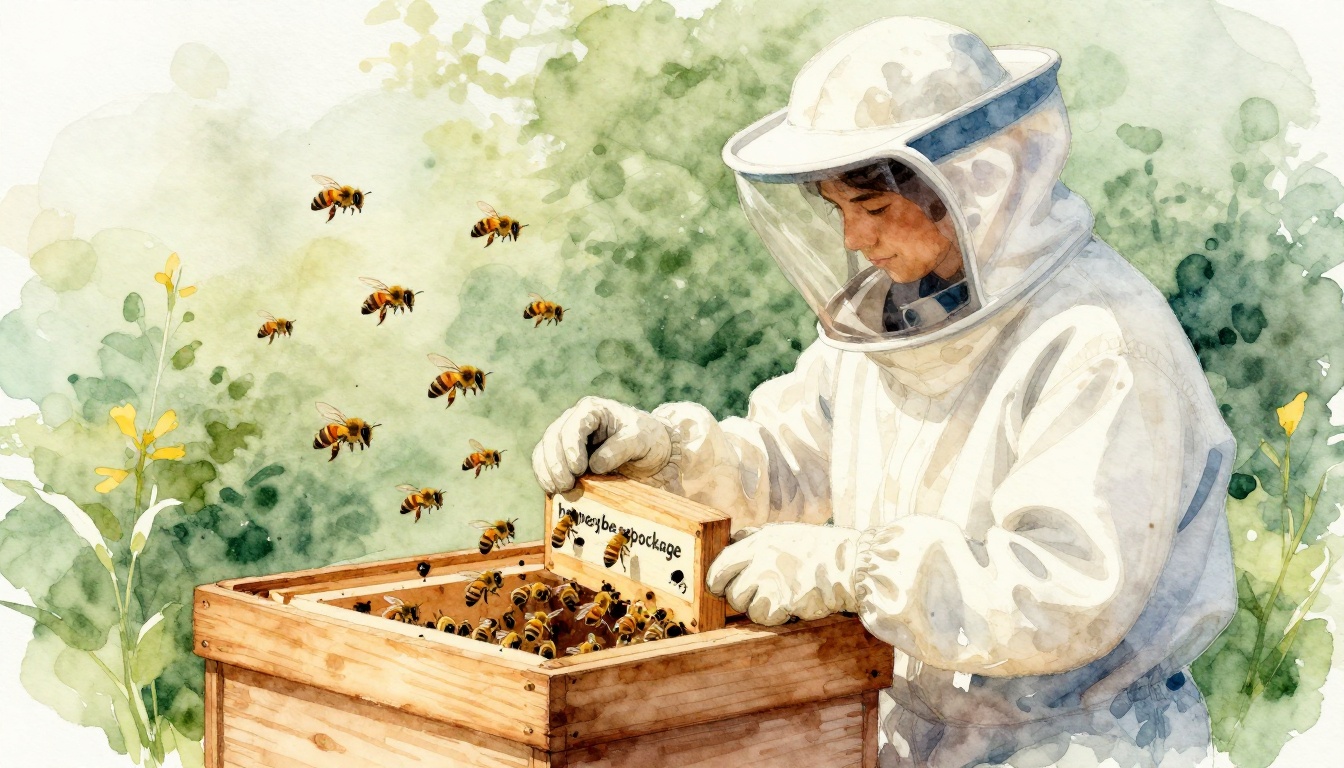
Picture this: a small wooden box arrives at your door, buzzing with life. Inside, about 10,000 worker bees and a mated queen wait to transform your backyard into a buzzing oasis. That three-pound package of honeybees marks the start of your beekeeping journey.
New beekeepers often feel a mix of excitement and nerves. One wrong move, and stings or a failed colony can dampen the fun. Safety comes first to protect you and give the bees their best shot at thriving.
This guide walks you through every step to install your honeybee package safely. You’ll learn gear needs, perfect timing, hands-on methods, and early care tips. Follow along, and soon you’ll enjoy fresh honey plus better pollination for your garden.
Gear Up: Essential Supplies and Hive Setup Before Bees Arrive
Start with the right tools. A full beekeeping suit, veil, gloves, smoker, hive tool, feeder, and sugar syrup keep things smooth. You also need foundation frames and an entrance reducer.
Assemble your Langstroth hive ahead of time. Install wax foundation in frames. Space them properly in the brood box. Place the hive on a stand, away from wind and foot traffic.
Prep sugar syrup too. Mix two parts sugar to one part warm water. Stir until clear, then cool it. This feeds the bees until they forage.
Cultivate a calm mindset. Work with a partner if possible. Double-check everything to spot issues early. Source your package from a trusted seller for healthy, disease-free bees.
Protective Clothing That Keeps Stings at Bay
Full suits offer the best protection for beginners. They zip over your body with no gaps. Jackets work for some, but they leave legs exposed.
The veil stays non-negotiable. It shields your face from stings that hurt most. Choose one that attaches securely to your suit.
Pick thick leather gloves or nitrile ones for dexterity. Boots cover ankles. Ensure everything fits snug. Gaps invite trouble. Experienced keepers might skip pieces, but don’t you.
Prime Your Hive for Instant Acceptance
Begin with the bottom board. Add the brood box with eight to ten frames. Space them evenly, leaving room for the cluster.
Install an inner cover and lid. Add a pollen patty or syrup feeder inside. Position the hive in full sun, facing southeast. Keep it near water and flowers, but not too close to neighbors.
Seal entrances with tape for now. This prevents escapes before install day. Check levelness one last time.
Timing It Right: Best Weather and Day for Smooth Installation
Choose a warm afternoon above 55 degrees Fahrenheit. Calm winds and partly cloudy skies work best. Late spring or early summer fits most areas.
Rain stresses bees. Cold slows them down. Evenings leave stragglers outside overnight. Pick daytime hours instead.
Packages ship overnight. Keep yours cool in shade until ready. Do a prep checklist 24 hours ahead. Good timing cuts stress and boosts survival.
Confirm weather first. Dress warmly if needed. Have syrup ready. This sets your colony up for success from day one.
Hands-On Installation: Shake, Hang, and Settle Your Bees
Work at dusk for low bee activity. Puff light smoke into the package. Remove the lid and screen bottom.
Follow these steps in order:
- Locate the queen cage inside. Check her health through the screen.
- Hang the queen cage between center frames. Point the candy end down.
- Position the package over the open hive. Shake bees directly onto frames.
- Bang the package gently on the ground. Stragglers fall out.
- Brush remaining bees at the entrance inside.
- Install the feeder with syrup right away.
- Add the inner cover loosely. Use an entrance reducer.
Observe from a distance that evening. Bees fanning at the entrance signal acceptance.
Move slowly always. Use minimal smoke. This keeps bees calm.
Release the Queen First for a Happy Colony
Find the cage marked “queen.” Watch for her movement. Healthy queens stay active.
Secure it centrally with wire or string. Workers eat through the candy plug in three to four days. This prevents rejection.
Don’t pull the plug yet. Let nature handle release. Check later if needed.
Shake and Pour: Getting the Workers Settled Fast
Puff smoke lightly first. Bees march down calmer.
Hold the package high over frames. Shake hard. Most bees tumble in.
Tap on ground next. Laggards drop free. Brush gently at the door. Avoid crushing.
Skip brood areas if frames have drawn comb. Workers settle fast otherwise.
Seal and Feed: Final Steps to Lock in Success
Replace the inner cover. Lid goes on loose for ventilation.
Add the entrance reducer now. It guards against robbers.
Fill the feeder full. Check no bees trap inside. Watch evening activity from afar.
First Week Watch: Feeding, Checks, and Trouble Signs
Top up syrup daily for three to five days. Bees draw comb fast with full bellies.
Peek inside on day three or four. Look for queen release, eggs, or larva. These mean progress.
Reduce the entrance as numbers grow. Switch to one-to-one syrup in summer.
Spot issues early. Queenless hives ball up. Absconding shows few bees. Robbing brings fights at the door.
Intervene only if needed. Add feed or requeen then.
Spot Early Wins and Red Flags in Your Hive
Healthy signs include a frame cluster and wax building. Bees stay calm.
Wins show quick comb work. Fanning persists.
Red flags: unreleased queen needs recheck. Drowned bees mean feeder tweaks. Starvation calls for more syrup.
Act fast on problems. Patience pays off most times.
Steer Clear of These Pitfalls for a Thriving First-Year Hive
Cold installs kill clusters. Wait for warmth always.
Too much smoke agitates. Use puffs only.
Releasing the queen early risks loss. Let candy do its job.
Bad locations bring predators. Pick sunny spots.
Skipping feed starves them. Check daily.
Opening too soon disturbs settling. Wait three days minimum.
Poor packages fail. Buy from pros.
Avoid these, and your hive hits 80 percent success. Patience tops the list.
Success stories start here. Beginners thrive with care.
You’ve got the steps to install safely. Gear protects you. Timing and slow shakes settle bees. Early watches catch issues.
Gear up with confidence for your first peek. Your colony builds strength fast.
Share your install story in comments below. What gear surprised you most? Subscribe for inspection tips, splits, and honey harvest guides next.
Backyard bees boost pollinators and food security. Your hive matters. Get buzzing today.