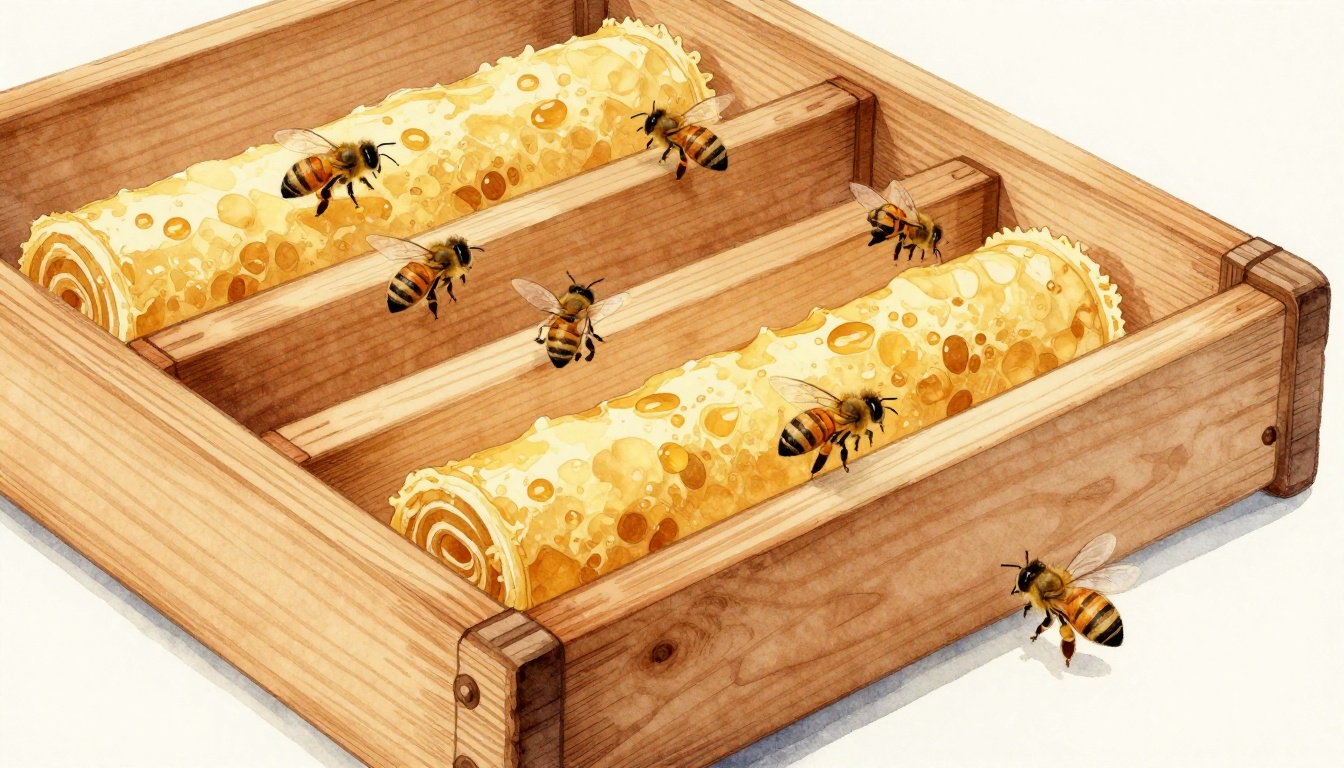
Picture this. You are a new beekeeper staring at a stack of hive boxes. Store-bought frames cost a fortune. Then you build your own and save hundreds on supplies for your first apiary.
Wooden frames and wax foundations form the backbone of Langstroth hives. Bees use them to store honey and raise brood. You control quality and cut costs when you assemble at home. Plus, hands-on work builds real skills fast.
This guide walks you through everything. First, gather supplies. Next, assemble frames quickly. Then, add wax foundations. Finally, inspect and store. You’ll end up with sturdy, bee-ready frames. Let’s get started.
Gather These Essential Supplies Before You Start
Stock up right to avoid mid-project trips to the store. For 10 standard 10-frame Langstroth frames, buy these basics.
You need top bars, one per frame. Get grooved bottom bars to hold wax tight. Side bars come in pairs; order 20 for your batch. Choose untreated pine or cedar. Treated wood harms bees, so skip it.
Wax foundation sheets match frame size. Pick crimped-wire types for deep frames or plain for mediums. Beginners often start with durable plasticell foundations too. They resist sagging in humid spots.
Tools make the job smooth. A frame assembly jig keeps parts square. Use a hammer or pneumatic nailer with 1-inch frame nails. Wood glue strengthens joints. Grab a utility knife, measuring tape, and safety glasses. Add gloves for splinter protection.
Buy from beekeeping suppliers online or local clubs. Quality matters because cheap wood warps fast. Expect to spend $2 to $3 per frame total. That’s half store prices. In short, these items ensure strong hives that last seasons.
Assemble Sturdy Wooden Frames in Under 10 Minutes Each
Clear time for a fun afternoon project. You build frames faster than you think. Bees love straight, snug fits in the hive.
Set up on a garage bench or kitchen table. Dust-free spots work best. Match parts by size first. Top bars measure 19 inches long typically. Bottoms fit inside grooves. Sides stand 9-1/4 inches for deep frames.
Nail at slight angles for grip. Glue adds hold against hive shakes. A jig speeds things and prevents wobbles. Frames sit tight in boxes without sticking or rattling.
Most importantly, practice on scraps. You gain speed after two or three. Result? Professional hives on a budget.
Prepare Your Workspace and Parts
Pick a flat surface first. Cover it with newspaper for easy cleanup. Sort top bars, bottom bars, and sides into piles.
Measure each piece now. Trim extras with a saw if needed. Pre-drill nail holes in hardwood sides. This stops cracks from dry wood.
Wear gloves and glasses always. Splinters sting, and dust flies. Meanwhile, organize nails and glue nearby. Ready workspace cuts errors.
Nail or Glue the Bars Together Securely
Lay the top bar flat. Stand side bars upright at each end. Apply glue to joints generously.
Drive two nails per end at 45-degree angles. They pull sides tight to the top. Repeat for both sides. Then position the bottom bar.
Nail through side bars into bottom grooves. Use two nails each side. Press firmly. Wipe excess glue fast.
Check squareness with a tape measure. Diagonals match on perfect frames. Dry time takes 30 minutes. Strong bonds last years.
Use a Frame Jig for Pro-Level Results
Jigs hold magic for beginners. They clamp parts aligned perfectly. Plastic versions cost under $20 and last forever.
Place top bar in the jig slot. Drop sides into guides. Add bottom last. Nail away without shifts.
This tool halves time per frame. Uniform stacks fit hives even. Bees draw comb straight every time. Buy one; it pays off quick.

Cut and Embed Wax Foundations for Perfect Bee Draw-Out
Frames stand empty without foundations. Wax sheets guide bees to build straight comb. They chew and extend cells naturally.
Cut sheets to fit grooves exactly. Embed firm so they stay put. Deep frames need wires for heavy honey support.
Handle wax gently always. Heat warps it easy. Cool rooms prevent sagging during setup. Bees work faster on flat starts.
Measure and Cut Foundation Sheets to Fit
Frame inner dimensions guide cuts. Deep frames take 17-inch by 8-1/2-inch sheets usually. Measure twice.
Use a utility knife on a cutting mat. Score lightly first. Snap or slice clean. Cut slightly oversized then trim.
Foundation cutters save hassle. They roll perfect edges fast. Steady hands work fine too. Precise fits mean no gaps.
Embed the Wax into Frame Grooves Smoothly
Slide wax into top and bottom grooves. It friction-fits most times. Center it by eye.
Warm edges with a hairdryer. Press into grooves firm. Use a hot uncapping knife for stubborn spots. Wax melts slight and seals.
Smooth surface flat. Bumps slow bee work. Even sheets draw comb uniform across the frame.
Add Support Wires If Using Deep Frames
Deep frames sag under honey weight. Wires prevent droops. Punch small holes in side bars, four per side.
Thread 16-gauge galvanized wire horizontal. Start at one end, pull tight across. Use turnbuckles to tension even.
Embed wax over wires. Press or melt in place. Wires vanish inside comb later. Sturdy frames hold full supers easy.

Inspect Your Frames, Fix Issues, and Store Safely
Step back and check work now. Good frames show square corners and tight wax. Rough spots invite trouble.
Common slips happen. Crooked nails weaken holds. Loose foundations shift in hives. Fix small errors quick.
Store right until bees arrive. Protection beats rework. Dust-free frames install smooth. First inspections thrill with fresh comb.
Spot and Fix Common Assembly Mistakes
Look for bent nails first. They poke wax and cause weak spots. Pull and replace straight.
Mismatched parts gap in boxes. Measure hive space; trim as needed. Warped wax from heat straightens under cool weight.
Pry joints apart gently. Re-glue and nail. Most fixes take minutes. Perfect stacks reward patience.
Store and Protect Frames Until Hive Time
Stack flat in boxes. Use spacers between stacks. Choose cool, dry, dark closets.
Seal against wax moths and rodents. Paradichlorobenzene crystals deter pests safe. Freezers kill eggs for long holds.
Shake dust before hiving. Check wires yearly. Replace cracked wax fresh. Ready frames mean happy colonies.

You now know how to build wooden frames and add wax foundations. Costs drop, quality rises, and skills grow. Start with 10 frames for your first hive.
Paint boxes next. Order package bees or a nuc. Join a local club for advice.
Share your build photos in comments. What snags did you hit? Subscribe for hive setup guides. Soon, you’ll harvest golden honey from your own hands.