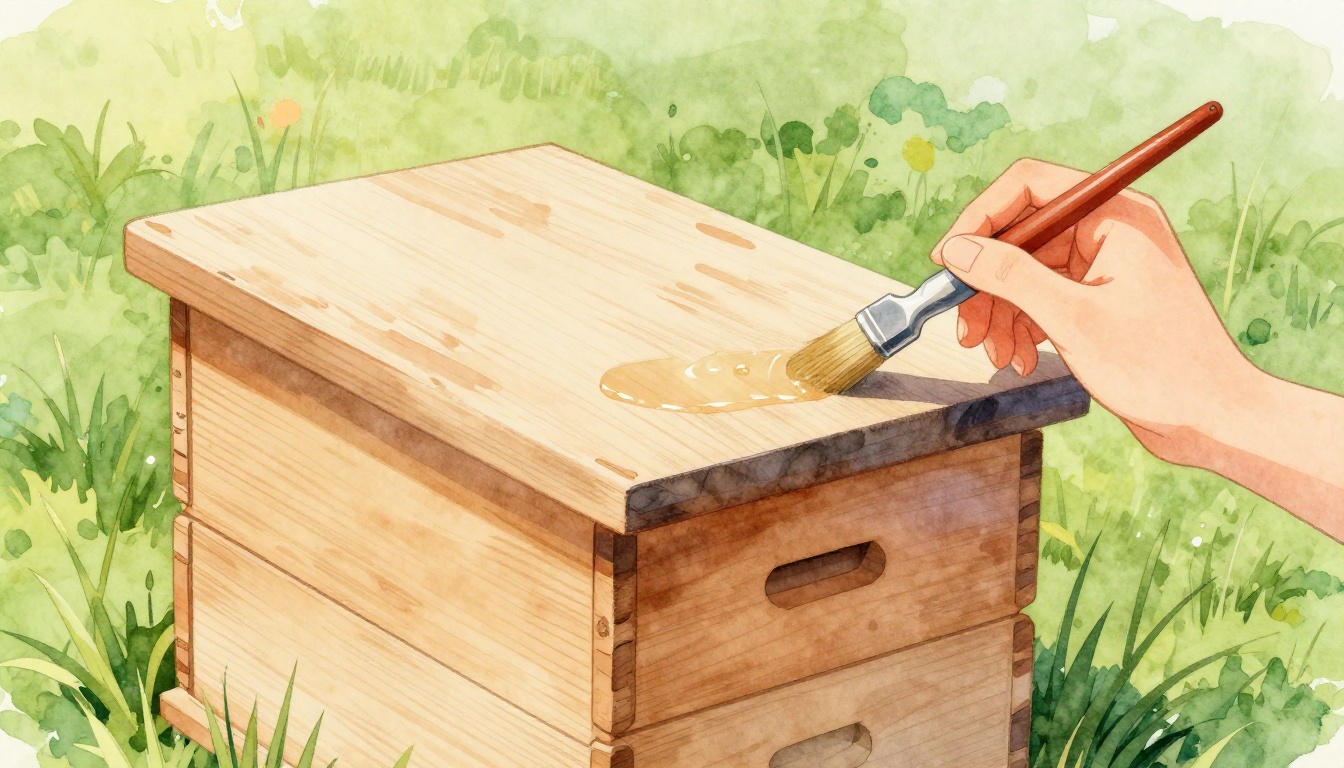
Picture this: a new beekeeper stacks fresh pine hive boxes in the yard, full of excitement. One rainy season later, rot sets in. Half the boxes warp and crumble, costing hundreds to replace.
Proper painting or sealing changes that story. You protect the wood from moisture, harsh sun, and pests. This extends box life to 10 years or more. Bees stay safe because you treat only the outside. No toxins reach the colony.
In this guide, you learn the benefits first. Then grab safe supplies and prep tips. Follow step-by-step for painting or sealing. Avoid common mistakes too. Soon, your hives look sharp and last seasons.
Big Wins from Painting or Sealing Your Hive Boxes Right
Untreated hive boxes face tough odds outdoors. Rain soaks pine wood fast. Humidity causes swelling then cracks. Without protection, rot starts in months.
Painting or sealing stops that cycle. A good coat blocks water. Wood stays dry inside. You also shield against UV rays. Sun fades and brittles untreated pine in a year or two. Protected boxes resist cracks for a decade.
Pests hate treated surfaces too. Ants and small carpenter bees struggle to chew sealed wood. Light colors like white reflect summer heat. Hives stay cooler by 10 degrees or more. Bees forage better in comfort.
Clean boxes make inspections easy. No sticky residue or rough spots. You lift and stack without snags. Beginners gain confidence fast.
One stat stands out. Untreated pine lasts 2-3 years tops. Treated versions push past 10. That’s real savings on replacements.
Bee health matters most. Stick to exterior treatments. Non-toxic paints and oils keep colonies thriving. Your effort pays off in strong hives and sweet honey.
Protected boxes mean less work overall. You focus on bees, not repairs. Start now for next season’s wins.
Stock Up on Bee-Safe Supplies and Prep Your Boxes Smartly
Gather tools before you start. Drop cloths catch drips. Brushes or sprayers cover surfaces even. Sandpaper from 80 to 220 grit smooths wood. Wood filler fixes dents. Tack cloths wipe dust. Wear gloves and a respirator for safety.
Paints need care. Choose exterior latex, low-VOC and water-based. White or pastels work best. They reflect heat well.
Sealants offer natural options. Boiled linseed oil penetrates deep. Tung oil dries fast. A paraffin and beeswax mix waterproofs edges.
Prep on a dry day above 50 degrees F. Disassemble if you can, but assembled boxes paint fine. Clean first with mild soap and water. Pressure wash gently if needed. Let dry fully.
Repair cracks next. Fill with wood filler and sand smooth. Start coarse grit, finish fine. This creates a strong base. Poor prep leads to peeling later.
Wipe with tack cloth last. Dust ruins adhesion. Ventilate your area. Fumes clear quick.
Skip toxic choices like creosote. Oil paints inside harm bees. Hardware stores or beekeeping shops stock safe stuff.
Safe Paints and Sealants That Won’t Bug Your Bees
Latex exterior paint tops the list. Brands like Behr offer low-VOC formulas. They last years and add color.
Natural oils shine too. Boiled linseed soaks in over 2-3 coats. Tung oil repels water without shine.
Food-grade mineral oil or beeswax mixes seal gentle. Paint pros: tough against weather. Sealant pros: lets wood breathe.
Test on a scrap first. Watch for reactions.
Step-by-Step Cleaning and Sanding Routine
Remove bees and propolis first. Brush gentle.
Wash with mild soap. Rinse well. Dry 1-2 weeks.
Fill dents next.
Sand coarse to fine. Follow wood grain.
Wipe clean.
Clean surfaces bond better. Dirt causes failures.
Paint Your Hive Boxes Flawlessly in These Straightforward Steps
Stir paint thoroughly. Thin a bit for brushes if thick.
Apply thin first coat to all exterior sides. Hit top and bottom edges. Skip insides completely.
Use a brush for edges and corners. Roller flats quick. Work with wood grain.
Dry 24-48 hours. Weather speeds or slows it.
Light sand next. Wipe dust. Add second coat thin.
Cure one week before bees return. Label boxes “exterior only.”
Two coats max prevent drips. Shade work avoids bubbles. Deep boxes take more time than supers.
Even coverage seals best. No bare spots let water in.
Nailing the First Coat Without Drips or Streaks
Brush along grain always. Avoid heavy globs.
Feather edges smooth. Corners get full attention.
Thin layers dry even.
Perfecting the Second Coat and Full Cure Time
Sand light between coats. 220 grit works.
Apply thin second layer. Covers flaws.
Cure fully. Boxes feel hard, not tacky.
Seal Hive Boxes for Natural, Breathable Protection
Oils and wax beat paint in humid spots. Wood breathes free. No peeling ever.
Brush oil liberal first. Wipe excess after 15-30 minutes.
Dry 24 hours. Repeat 2-3 coats.
Paraffin method dips boxes. Melt with beeswax 1:1. Dip edges brief. Hang to harden.
Reapply yearly. Check cracks.
Safer than paint for some. Natural choices rule.
Oil Sealing Method for Easy Wood Nourishment
Linseed or tung soaks deep. Thin coats build protection.
Wipe each time. Shine builds slow.
Wax Dip Technique for Ultimate Waterproofing
Melt mix hot but safe. Dip bottoms and tops.
Cool on racks. Edges repel water best.
Steer Clear of Goofs and Keep Your Finish Fresh Long-Term
Paint inside? Bees suffer toxins. Exterior only.
Wet weather bubbles paint. Wait for dry spells.
Skip prep and it peels quick. Sand always.
Dark colors overheat hives. Stick light.
Inspect yearly. Touch up cracks. Clean gentle with soap.
Redo when wood shows. Fall timing fits best.
Q: How often recoat? Every 3-5 years for paint, yearly oil.
Q: Bees hate paint smell? Cure full week. They adjust.
You got this. Strong boxes mean happy bees.
Your hives deserve protection. Prep pays off big.
Ready Your Hives for Seasons of Success
Prep sets the base. Safe materials keep bees safe. Careful steps ensure long life.
Grab supplies this weekend. Paint or seal now. Healthier hives await spring.
Share your before-and-after in comments. What method you pick? Subscribe for more tips like hive assembly tricks.
Protected boxes change everything. Your bees thank you with bounty.