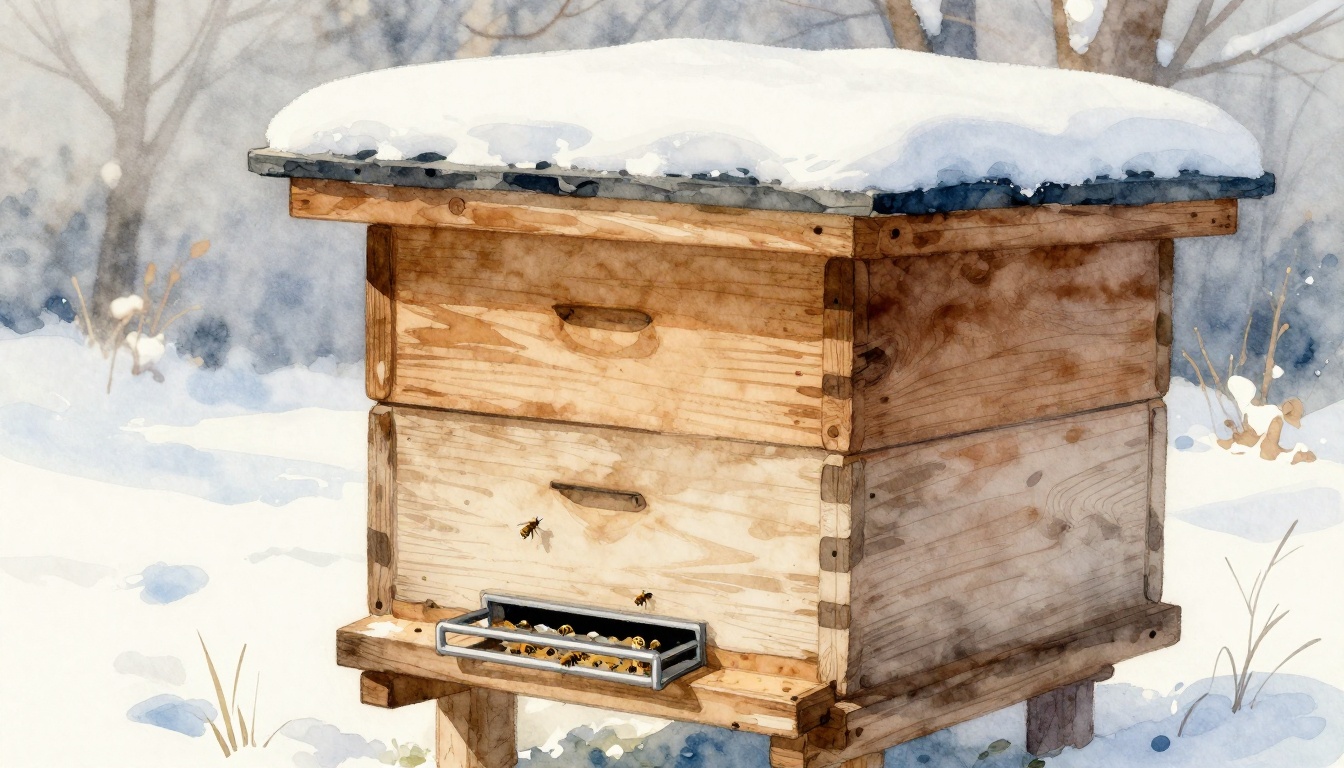
Picture this: a beekeeper named Tom checks his hives one crisp November morning. He opens the lid and finds shredded comb, scattered honey, and tiny black droppings everywhere. Mice had turned his empty hive into a cozy winter home. They snuck in at night, gnawed wood frames, and feasted on stored honey while his bees huddled upstairs for warmth.
Bees cluster tight in the hive’s upper boxes during cold months. They don’t patrol the entrance like they do in summer. This leaves the door wide open for rodents. Mice squeeze through small gaps, nest in the warmth, and eat precious food supplies. They also chew insulation and spread diseases through droppings. One mouse can ruin a hive’s winter stores in weeks.
You can stop this with simple tools: a mouse guard and an entrance reducer. A mouse guard fits over the entrance with narrow metal or wood bars. Slots let bees pass, about 1/4 inch wide, but block mice heads. An entrance reducer shrinks the opening to 3 or 4 inches. It cuts drafts, saves heat, and makes defense easier for fewer bees.
These fixes cost under $10 per hive. They boost survival rates come spring. You’ll see healthier colonies ready to forage. This guide walks you through every step. It uses basic tools any beginner can find. Prep takes minutes. Installation lasts 10 minutes per hive. Follow along, and your bees stay safe all winter.
Why Mice Threaten Your Hive and How These Tools Save It
Bees change behavior as temperatures drop. They stop foraging and form a tight cluster in the brood boxes. Heat rises from their bodies, so they stay high in the hive. The entrance sits unguarded. No sentries watch for intruders.
Mice spot this weakness fast. They enter at dusk when bees rest. Rodents chew entrance wood to widen gaps. They build nests from wax cappings and propolis. Honey becomes their main meal. One report from beekeepers shows mice wipe out 20 percent of stores in a month. They wake bees too. Disturbed clusters burn energy they need to survive cold snaps.
Worse, mice carry parasites and bacteria. Droppings contaminate combs. Bees clean up, but stress builds. Weak colonies die off by February.
A mouse guard solves this first. It snaps or nails over the entrance bottom. Vertical slots measure 1/4 inch by 3/8 inch. Worker bees slip through sideways. Mice cannot fit their skulls. Guards also deter wasps in fall.
Entrance reducers add another layer. You slide in a wood block with cutouts. Reduce the opening to match your climate. In mild areas, use a 4-inch notch. Colder spots need 3 inches or less. Fewer bees guard the smaller space. They focus efforts better. Drafts drop, so clusters hold heat.
Benefits stack up. Food stays protected. Warmth improves by 10 degrees inside. Beekeepers report 20 to 30 percent higher spring survival. Think of it like shrinking your home’s front door at night. Burglars stay out, and heat bills fall.
These tools pair well. Mouse guard blocks rodents. Reducer handles wind and robbers. Together, they create a fortress.
Choose Mouse Guards and Entrance Reducers That Fit Your Hive Perfectly
Pick gear that matches your setup. Wrong size traps bees outside or lets mice in. Start with measurements. Standard Langstroth entrances run 16 to 22 inches wide and 3/8 inch tall. Ten-frame hives need longer guards. Eight-frame ones use shorter versions.
Buy quality from trusted suppliers. Mann Lake offers stainless steel guards that last years. Dadant sells wood reducers you can notch yourself. Or make your own to save cash.
Focus on durability first. Metal resists chewing better than plastic. Wood works if you treat it. Always check slot gaps stay under 5mm. Bees need space for pollen loads.
Mouse Guard Types and Sizing Basics
Metal guards shine for longevity. Stainless steel won’t rust in damp hives. Bendable tabs secure them without tools. Plastic versions cost less but crack over time. Wood suits DIY fans; cut from 1×2 pine.
Common sizes fit most:
| Hive Type | Length (inches) | Slot Width (inches) |
|---|---|---|
| 10-frame Langstroth | 17-19 | 1/4 |
| 8-frame Langstroth | 13-15 | 1/4 |
| Nuc box | 10 | 1/4 |
For DIY, grab 1/4-inch hardware cloth. Cut to entrance width. Staple over a wood frame. Test slots with a bee mimic like a pencil eraser.
Entrance Reducer Styles for Custom Fit
Reducers come in notches, wedges, or sliders. Fixed notch blocks offer preset sizes: 1, 3, or 6 inches wide. Slide the right one into place. Wedges taper for tight fits. Foam plugs work short-term but rot.
Winter picks the smallest notch. Pair it with a mouse guard hole. Bees still haul pollen, but robbers struggle. Avoid full blocks; bees need air flow.
Sliders adjust on the fly. Notch both ends for cleats. Secure above the guard.
Match Gear to Your Hive Type and Climate
Langstroth hives take standard gear. Top-bar or Warre need custom cuts. Flow hives use adapters. Nucs fit mini guards.
Colder zones like the Midwest demand tighter seals. Southern states allow bigger openings. Quiz yourself: measure your entrance today. Does it match 10-frame specs? Adapt for local winds.
Right fit prevents bee jams. Colonies thrive.
Gather Tools and Prep Your Hive in Under 10 Minutes
Stock up on basics. You’ll need a hive tool to pry parts. Grab a hammer or rubber mallet for tapping. Use 1-inch nails or screws. Pliers bend tabs. Wear gloves and a bee brush. Add petroleum jelly for wood seals. A measuring tape confirms sizes.
Pick a warm day above 50 degrees Fahrenheit. Bees stay calm. Smoke the entrance lightly. This masks alarm scents.
Remove old props first. Clear debris or dead bees. Brush the entrance clean. Check for cracks. Fill with putty if needed.
Safety matters. Don a veil if bees buzz. Work at midday when foragers fly.
Here’s your quick checklist:
- Hive tool: pry loose.
- Mallet: secure gently.
- Nails/screws: four per guard.
- Brush: clear paths.
- Smoke: settle bees.
Prep keeps things smooth. No stuck tools or angry swarms.
Follow These Easy Steps to Install Mouse Guard and Entrance Reducer
Install after the last honey flow. Aim for late fall, before frost hits. Bees settle in clusters. Your hive stays quiet.
Work one hive at a time. Total time runs 5 to 10 minutes. Stay gentle. Brush bees aside as needed.
Secure the Mouse Guard Firmly at the Entrance Bottom
Position the guard level on the bottom lip. Align slots upward for easy bee passage.
Next, tap nails through pre-drilled holes. Or bend metal tabs over the lip. Use two on top, two below. Pliers help.
Check the fit. Slide a finger through a slot; it should pinch. Bees pass single file. Fix gaps with shims. No mouse sneaks by.
Slide in the Entrance Reducer for a Tight Winter Seal
Select the smallest notch, about 3 inches. Face it outward.
Insert above the mouse guard. Friction holds most. Add cleats or nails for wind.
Test it. Push hard; it shouldn’t shift. Sliders lock at your width.
Final Fit Check and Bee-Friendly Adjustments
Pull and push the setup. Secure holds.
Watch for an hour. Bees enter and exit smooth? Trim grass nearby. Add an upper entrance if bottom clogs with dead bees.
Adjust as needed. Bees guide you.
Watch Your Hive All Winter and Fix Issues Fast
Check every two to three weeks on mild days. Look for mouse signs like droppings or chew marks. Bees fighting entry means too tight; widen a notch.
Clear dead bees from slots. Scrape propolis buildup. Replace chewed guards.
Condensation signals poor ventilation. Add a quilt box above.
Spring removal waits for 60-degree days. Foragers ramp up. Pry out reducer first. Bees expand fast.
Pro tips boost success. Wrap hives in tar paper. Use moisture quilts. Feed fondant if stores run low.
Common questions pop up. What if bees can’t enter? Enlarge the slot slightly. Mice inside already? Open on a warm day and clean.
Share your winter checks in comments. What works for you?
Your effort pays off big. Hives survive 90 percent of winters with protection. Colonies boom come spring. Install this weekend. Snap photos of your setup. Pin this for next year. Check our post on winter bee feeding next.